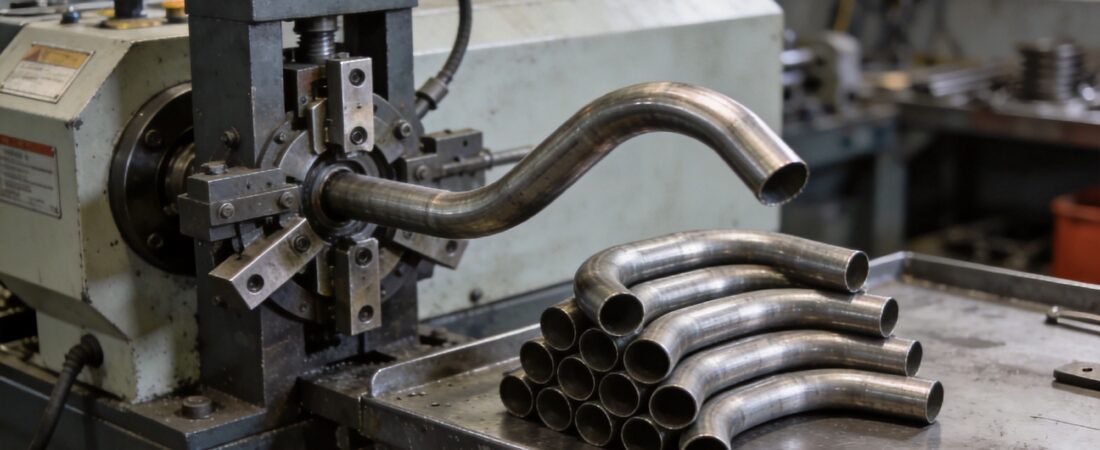
Summary: From zero-turn mower frames to rotary tiller chassis, lawn and garden equipment runs on bent tubing. In this guide I share the practical side of commercial lawn and garden equipment tube bending — tube types, machine selection, die setup, the five defects I see most often, and how to fix them.
Why Bent Tubing Is Everywhere in Lawn Equipment
Last year a small mower assembly shop sent me photos of a frame failure: a ROPS tube had cracked right at the bend. The bend looked fine on the outside, but the outer wall had been stretched thin and work-hardened until it simply gave up.
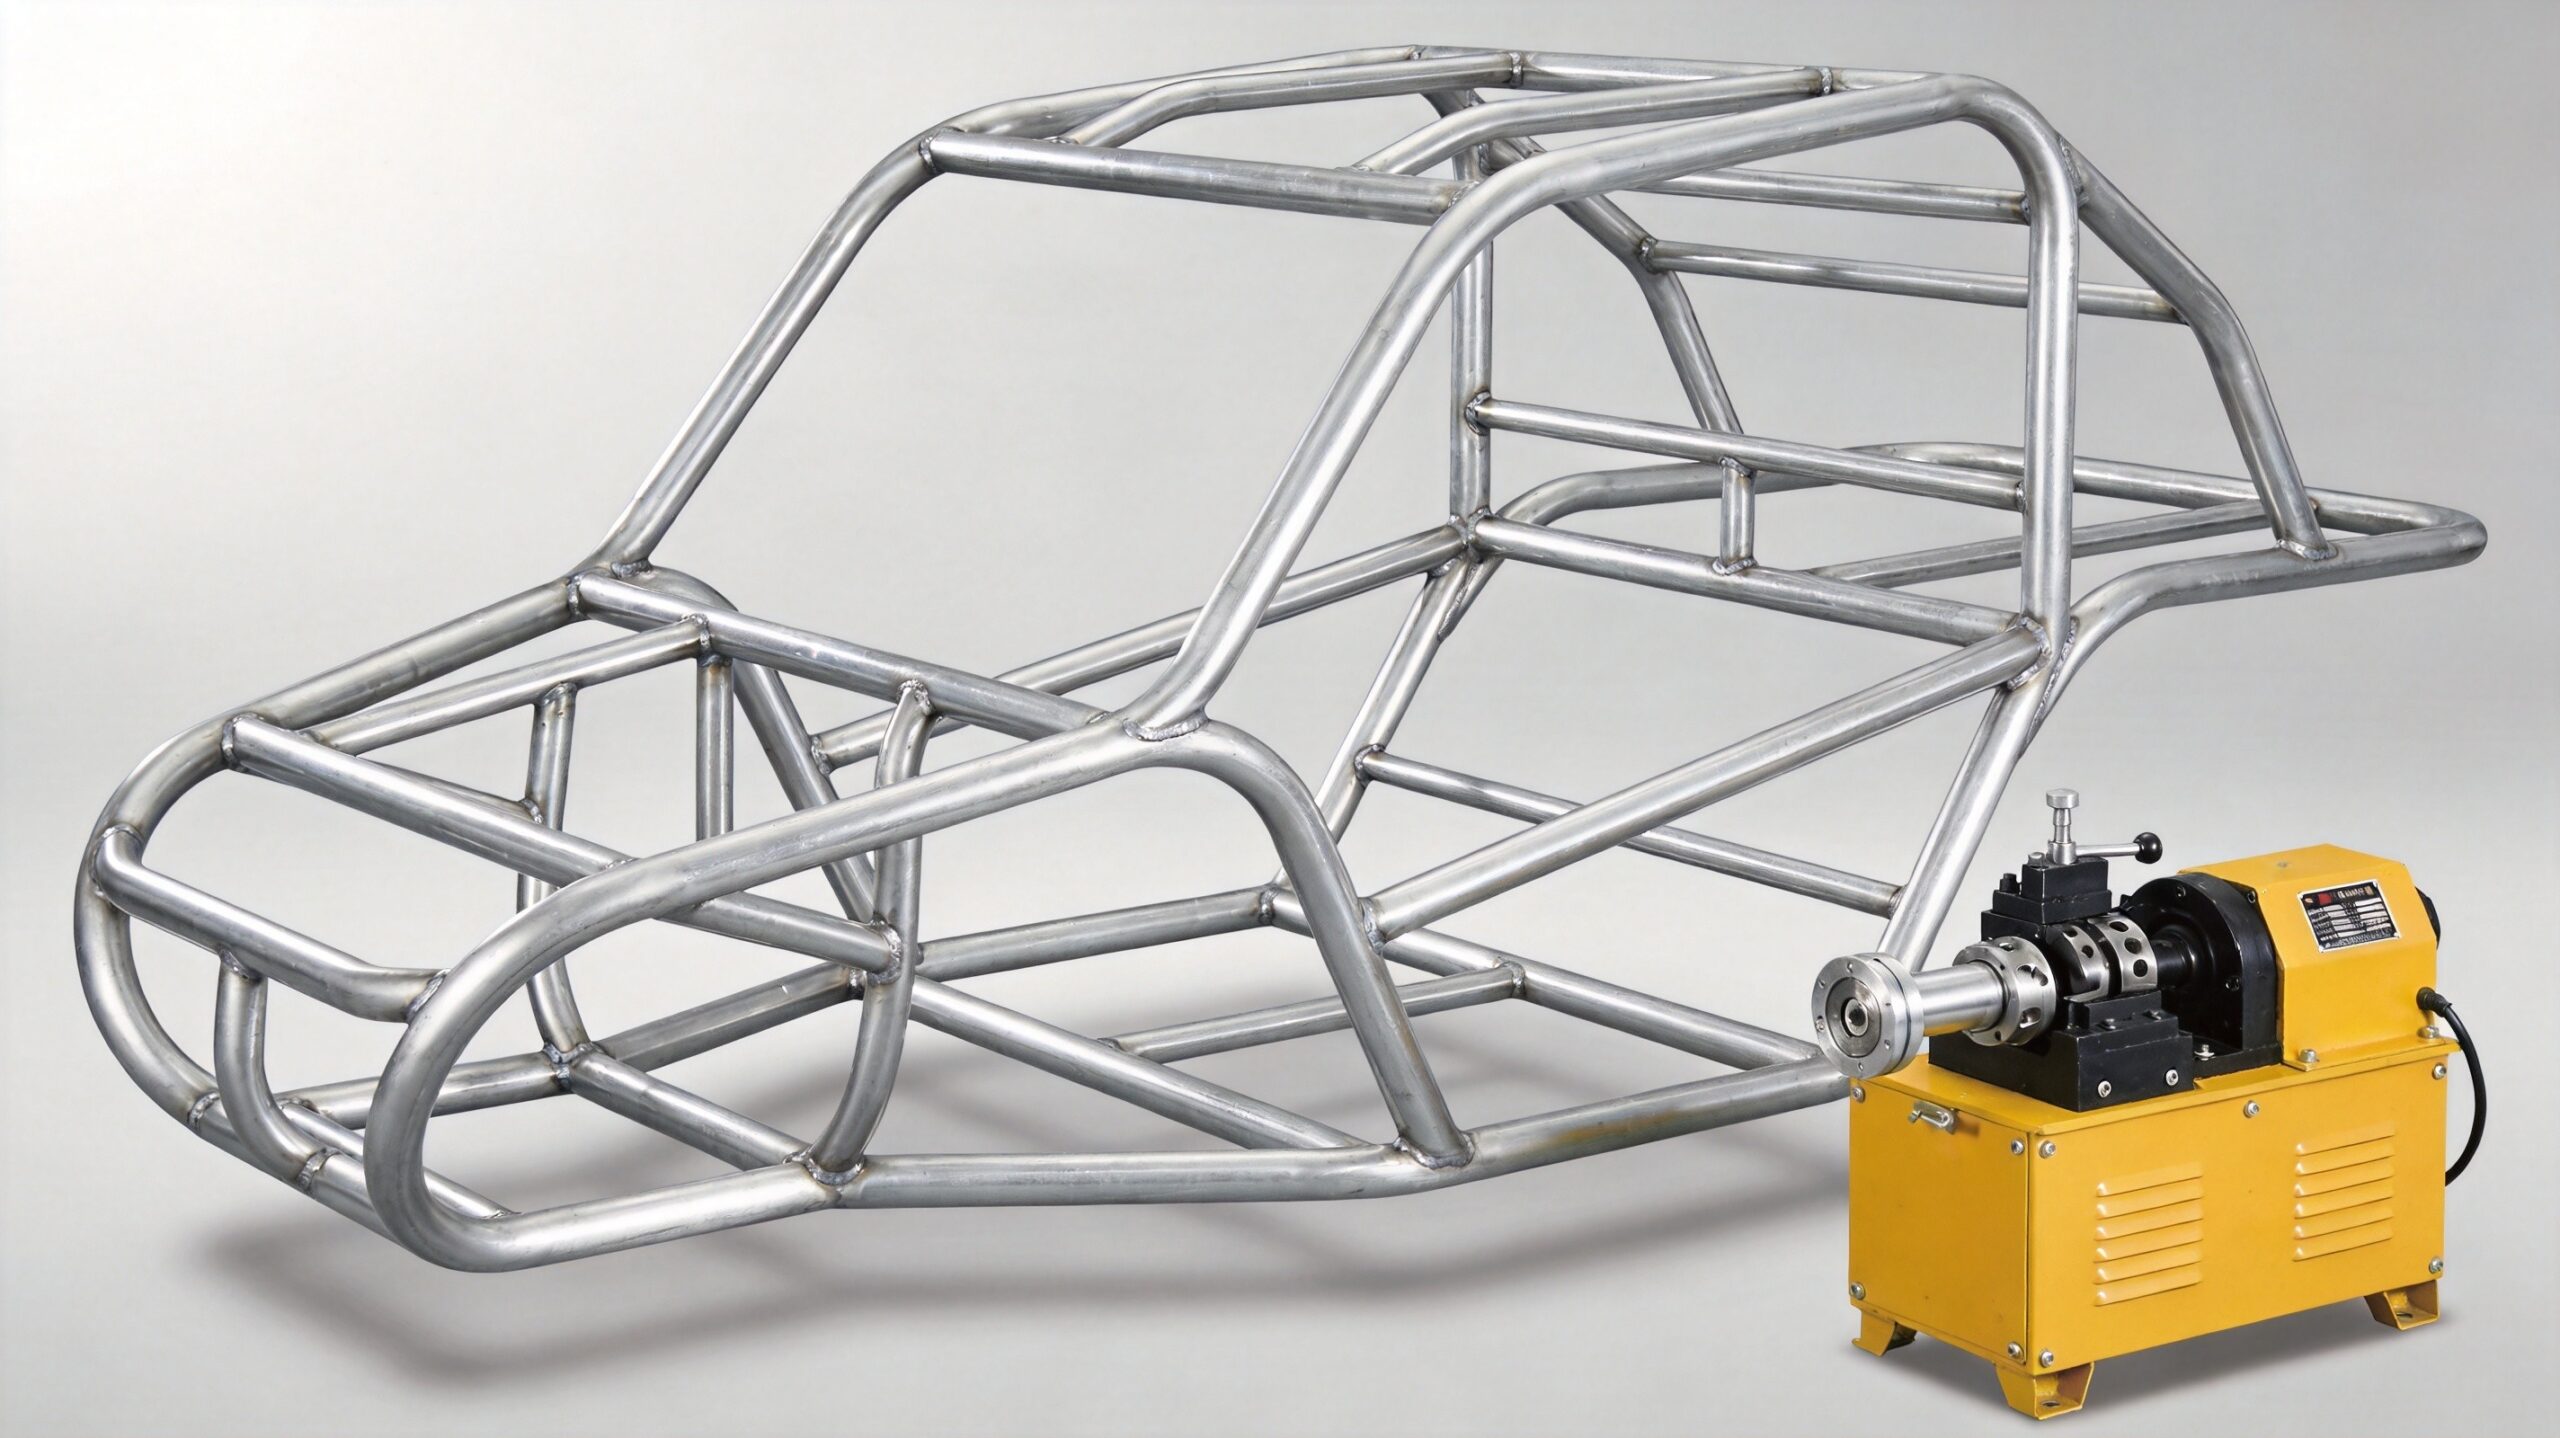
That failure is a reminder of how much these machines depend on bending work. Tear down a commercial zero-turn mower and most of what holds it together is round steel tube, bent and welded:
- Main frame rails carrying the engine and seat deck — long multi-angle bends
- ROPS (roll-over protection structure) — the highest-stakes bends on the machine
- Front caster forks and suspension arms — tight-radius bends with end-forming
- Hydraulic lines to the wheel motors — small-diameter tube bent in several planes
- Handles, bumpers and guards — appearance-grade bends
On a typical garden tractor, tubing accounts for roughly 30–45% of the machine’s structural weight. The quality of those bends decides frame strength, operator safety and service life.
The Three Families of Tube in Lawn & Garden Equipment
I group the bending jobs in this industry by what the tube has to do, not by its shape.
1. Structural tubing
- Where: frame rails, ROPS, seat supports
- Material: low-carbon steel (AISI 1010/1020), sometimes 1026 or HSLA on premium machines
- Size: OD 25–50 mm (1″–2″), wall 1.5–3.0 mm
- What matters: roundness after bending and consistency across long, multi-angle parts
2. Fluid-conveying tubing
- Where: hydraulic lines, oil and coolant lines
- Material: seamless carbon steel or stainless steel
- Size: OD 6–16 mm, wall 0.8–1.5 mm
- What matters: no wrinkling or flattening — even a 10% reduction in inner diameter starves a hydraulic motor
3. Guard and trim tubing
- Where: handrails, brush guards, exhaust shields
- Material: ordinary ERW welded tube
- Size: OD 12–25 mm
- What matters: surface finish; scratches and die marks show immediately
Matching the Machine to Your Volume
Lawn equipment production usually means medium batches — tens to a few hundred machines a month — with several tube sizes and frequent bend-pattern changes. That profile doesn’t justify a fully automatic line, but it punishes hand-work fast.
Option 1: Vertical electric pipe bender
- Best for: OD 6–38 mm (1/4″–1 1/2″), single-plane bends, repair work and prototyping
- Advantages: small footprint, low entry cost, an operator is productive in an afternoon
- Limits: one bend plane; complex multi-bend parts are slow
- Fit: repair shops and assemblers building under ~200 machines a year
See the TubeFab vertical pipe bending machine.
Option 2: Hydraulic pipe bender
- Best for: OD 25–50 mm, medium to heavy wall, frame-level bends
- Advantages: the force to bend thick walls, low tooling cost, simple to maintain
- Limits: angle precision depends on the operator and on stops; not CNC-repeatable
- Fit: mid-size shops turning out 200–1,000 machines a month
See the TubeFab hydraulic pipe bending machine.
Option 3: CNC pipe bending machine
- Best for: multi-bend, multi-plane parts that must repeat exactly
- Advantages: one program repeats all day, angle accuracy around ±0.5°, complex 3-D tube shapes
- Limits: higher upfront investment and a learning curve for programming
- Fit: batch builders over ~500 units a month, or shops doing OEM work across several models
See the TubeFab CNC pipe bending machine.
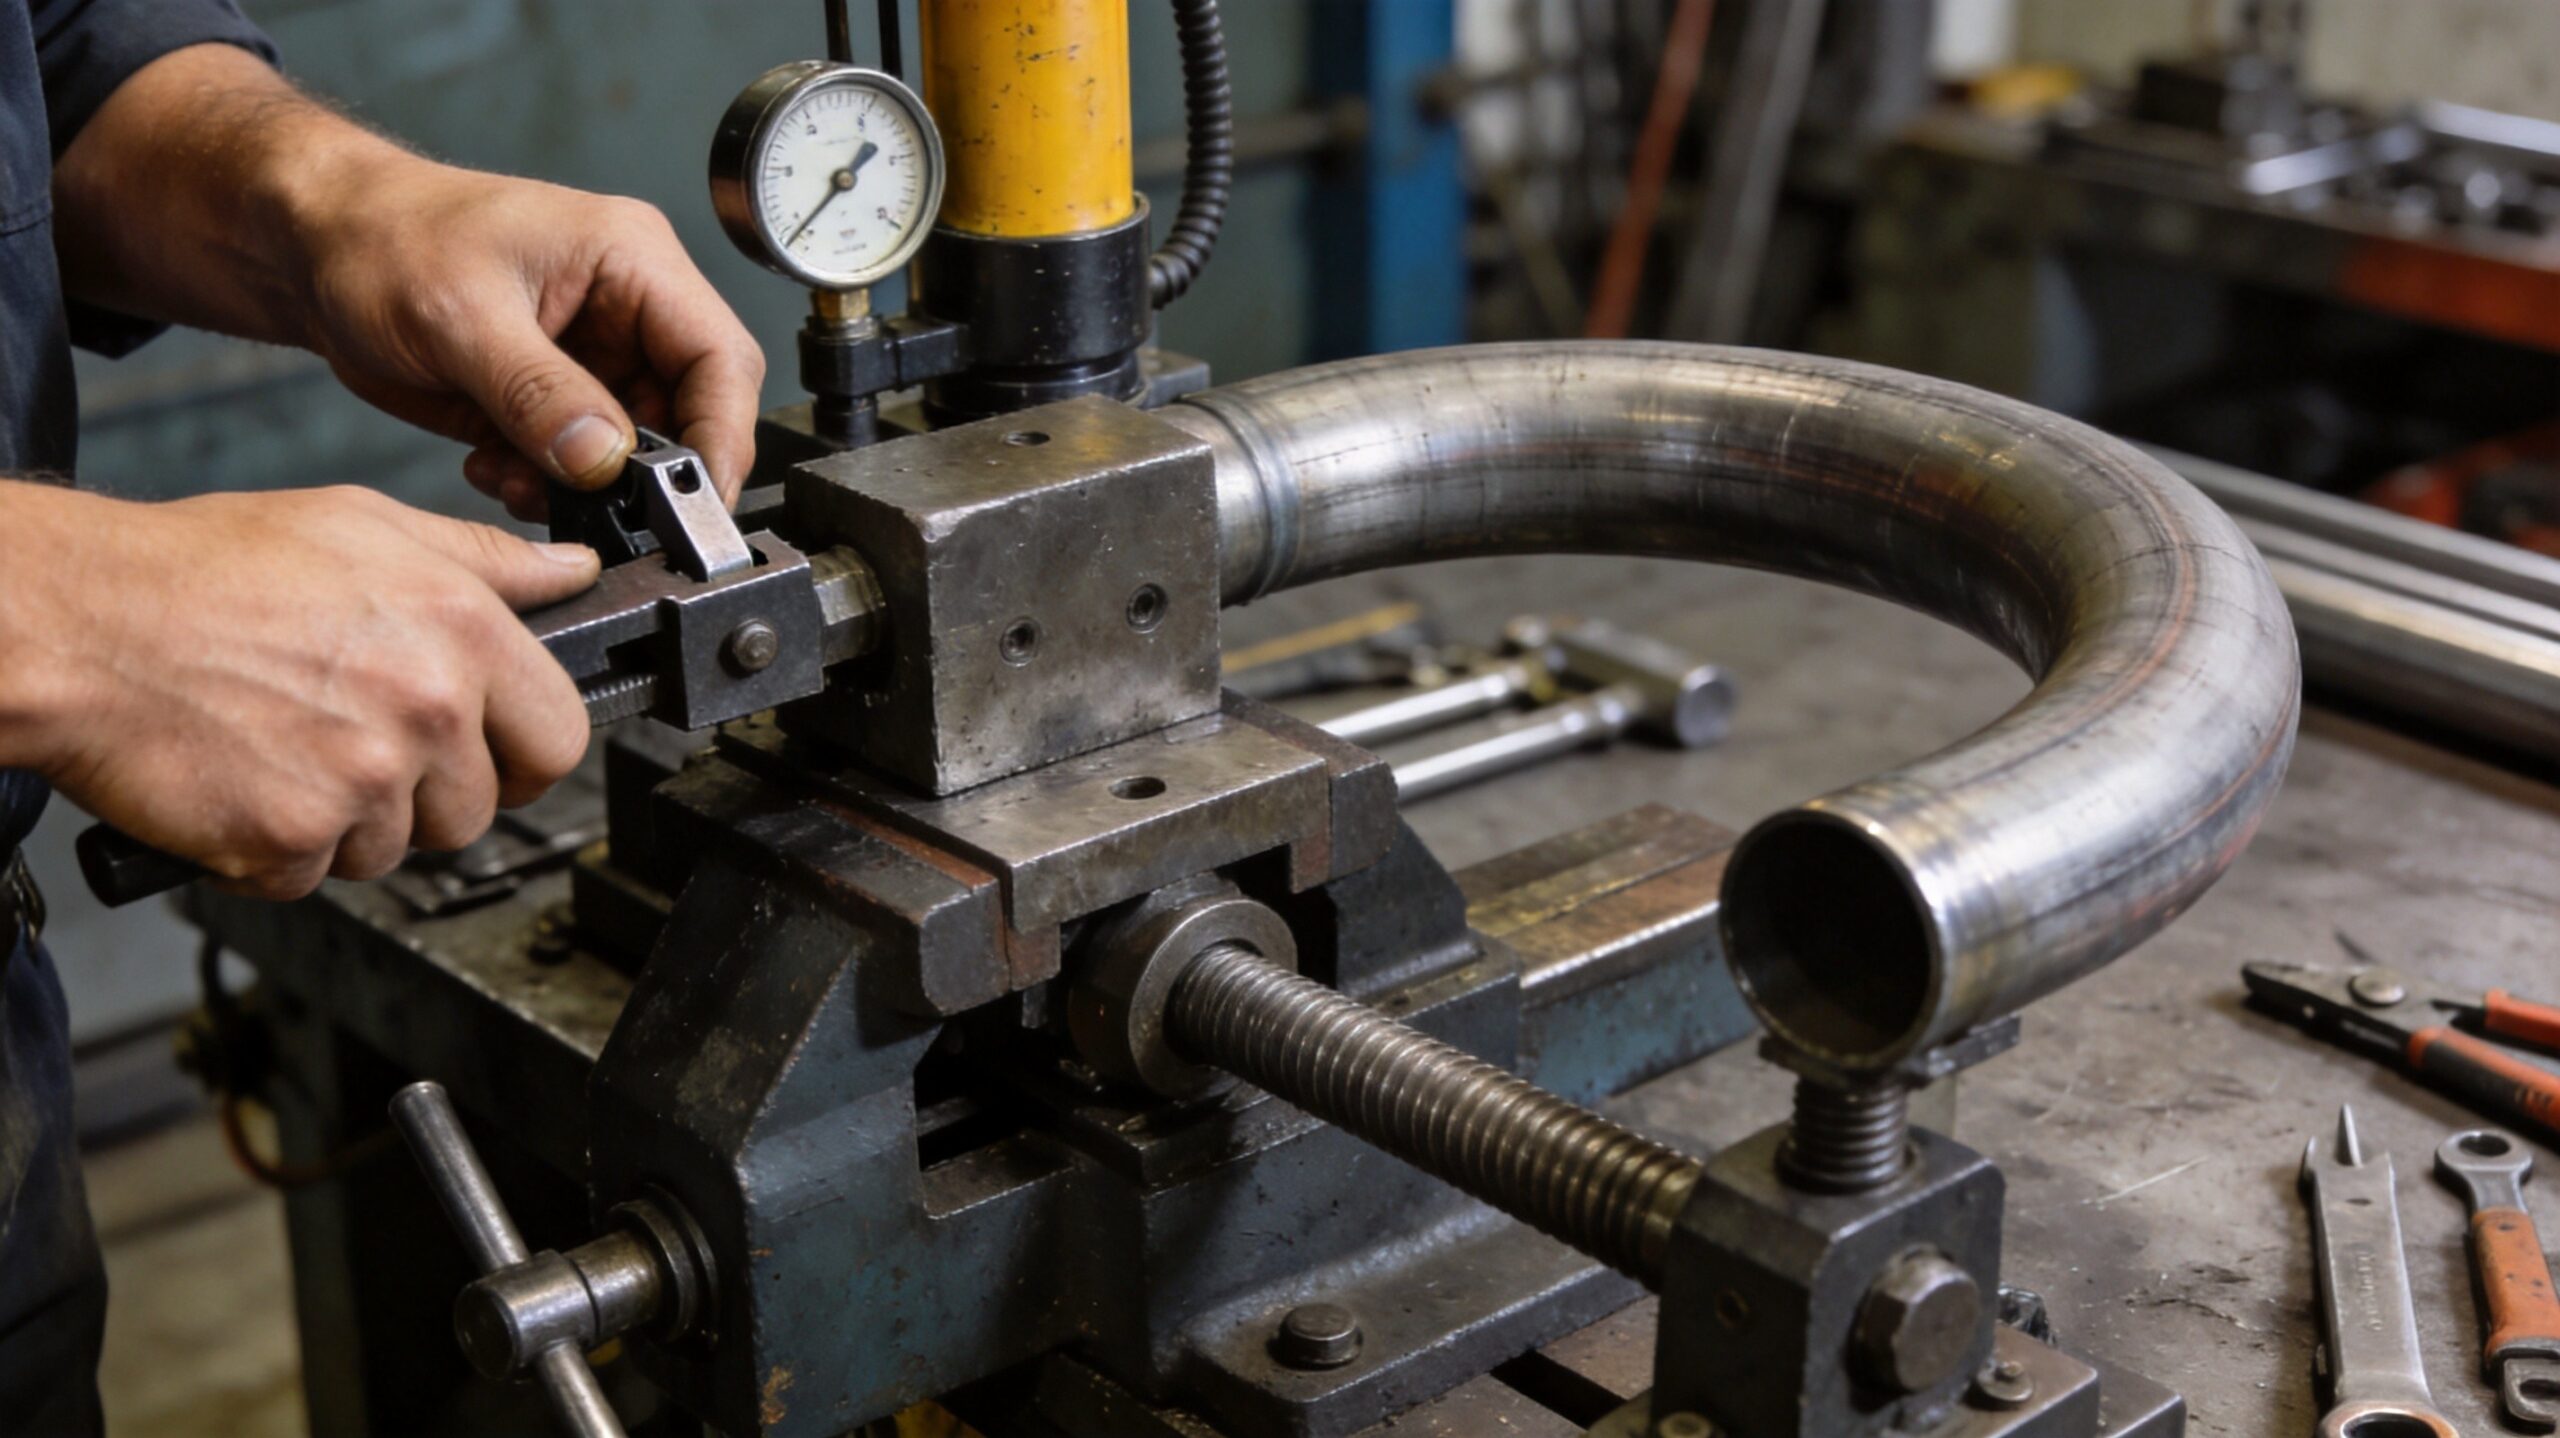
My usual advice: prove the product on a vertical machine, move volume to a hydraulic bender, and buy CNC when changeover time — not bending time — becomes the bottleneck.
Tooling: Where Most Bending Problems Actually Start
After fifteen years around these machines, I estimate that 80% of bending defects trace back to the tooling, not the machine.
The core tool set
| Part | Job | Notes |
|---|---|---|
| Bend die | sets the radius and angle | 4140 or tool steel, hardened and polished groove |
| Clamp die | grips the tube behind the tangent | serrations or polyurethane inserts for finished surfaces |
| Pressure die | follows the tube as it rotates | keeps constant pressure against the bend die |
| Mandrel | supports the inside of the bend | required when wall factor (OD ÷ wall) exceeds roughly 15 |
Parameters worth getting exact
- Centerline radius (CLR): at least 1.5 × OD for low-carbon steel, 2 × OD for stainless. Tighter radii demand a mandrel and a wiper die.
- Die-groove fit: the groove should match your actual tube OD within about 0.1 mm. Most “mystery flattening” is just an oversize groove.
- Lubrication: use a proper bending lubricant on mandrel work. Dry tooling steals surface finish and strains the machine.
One caution worth repeating: advertised tube OD varies by supplier and standard. Verify the real OD with a caliper before you cut the die groove.
The Five Defects I See Most — and How to Fix Them
| Defect | Usual cause | Fix |
|---|---|---|
| Wrinkling on the inside radius | too tight a radius, no mandrel, thin wall | add a mandrel (and wiper die if needed), use a larger CLR |
| Flattening / ovality | wrong mandrel position, no pressure-die follow-through | advance the mandrel to the tangent, check pressure-die force |
| Excessive springback | high-yield material, under-bending | over-bend 1–2° to compensate; verify with an angle finder |
| Scratches and galling | rough die groove, dry tooling | polish the groove, use lubricant, check clamp inserts |
| Inconsistent angles | clamp slip, pressure drift, worn stops | clean and serrate the clamp zone, check the hydraulic gauge between batches |
From Stock to Finished Part: A Real Workflow
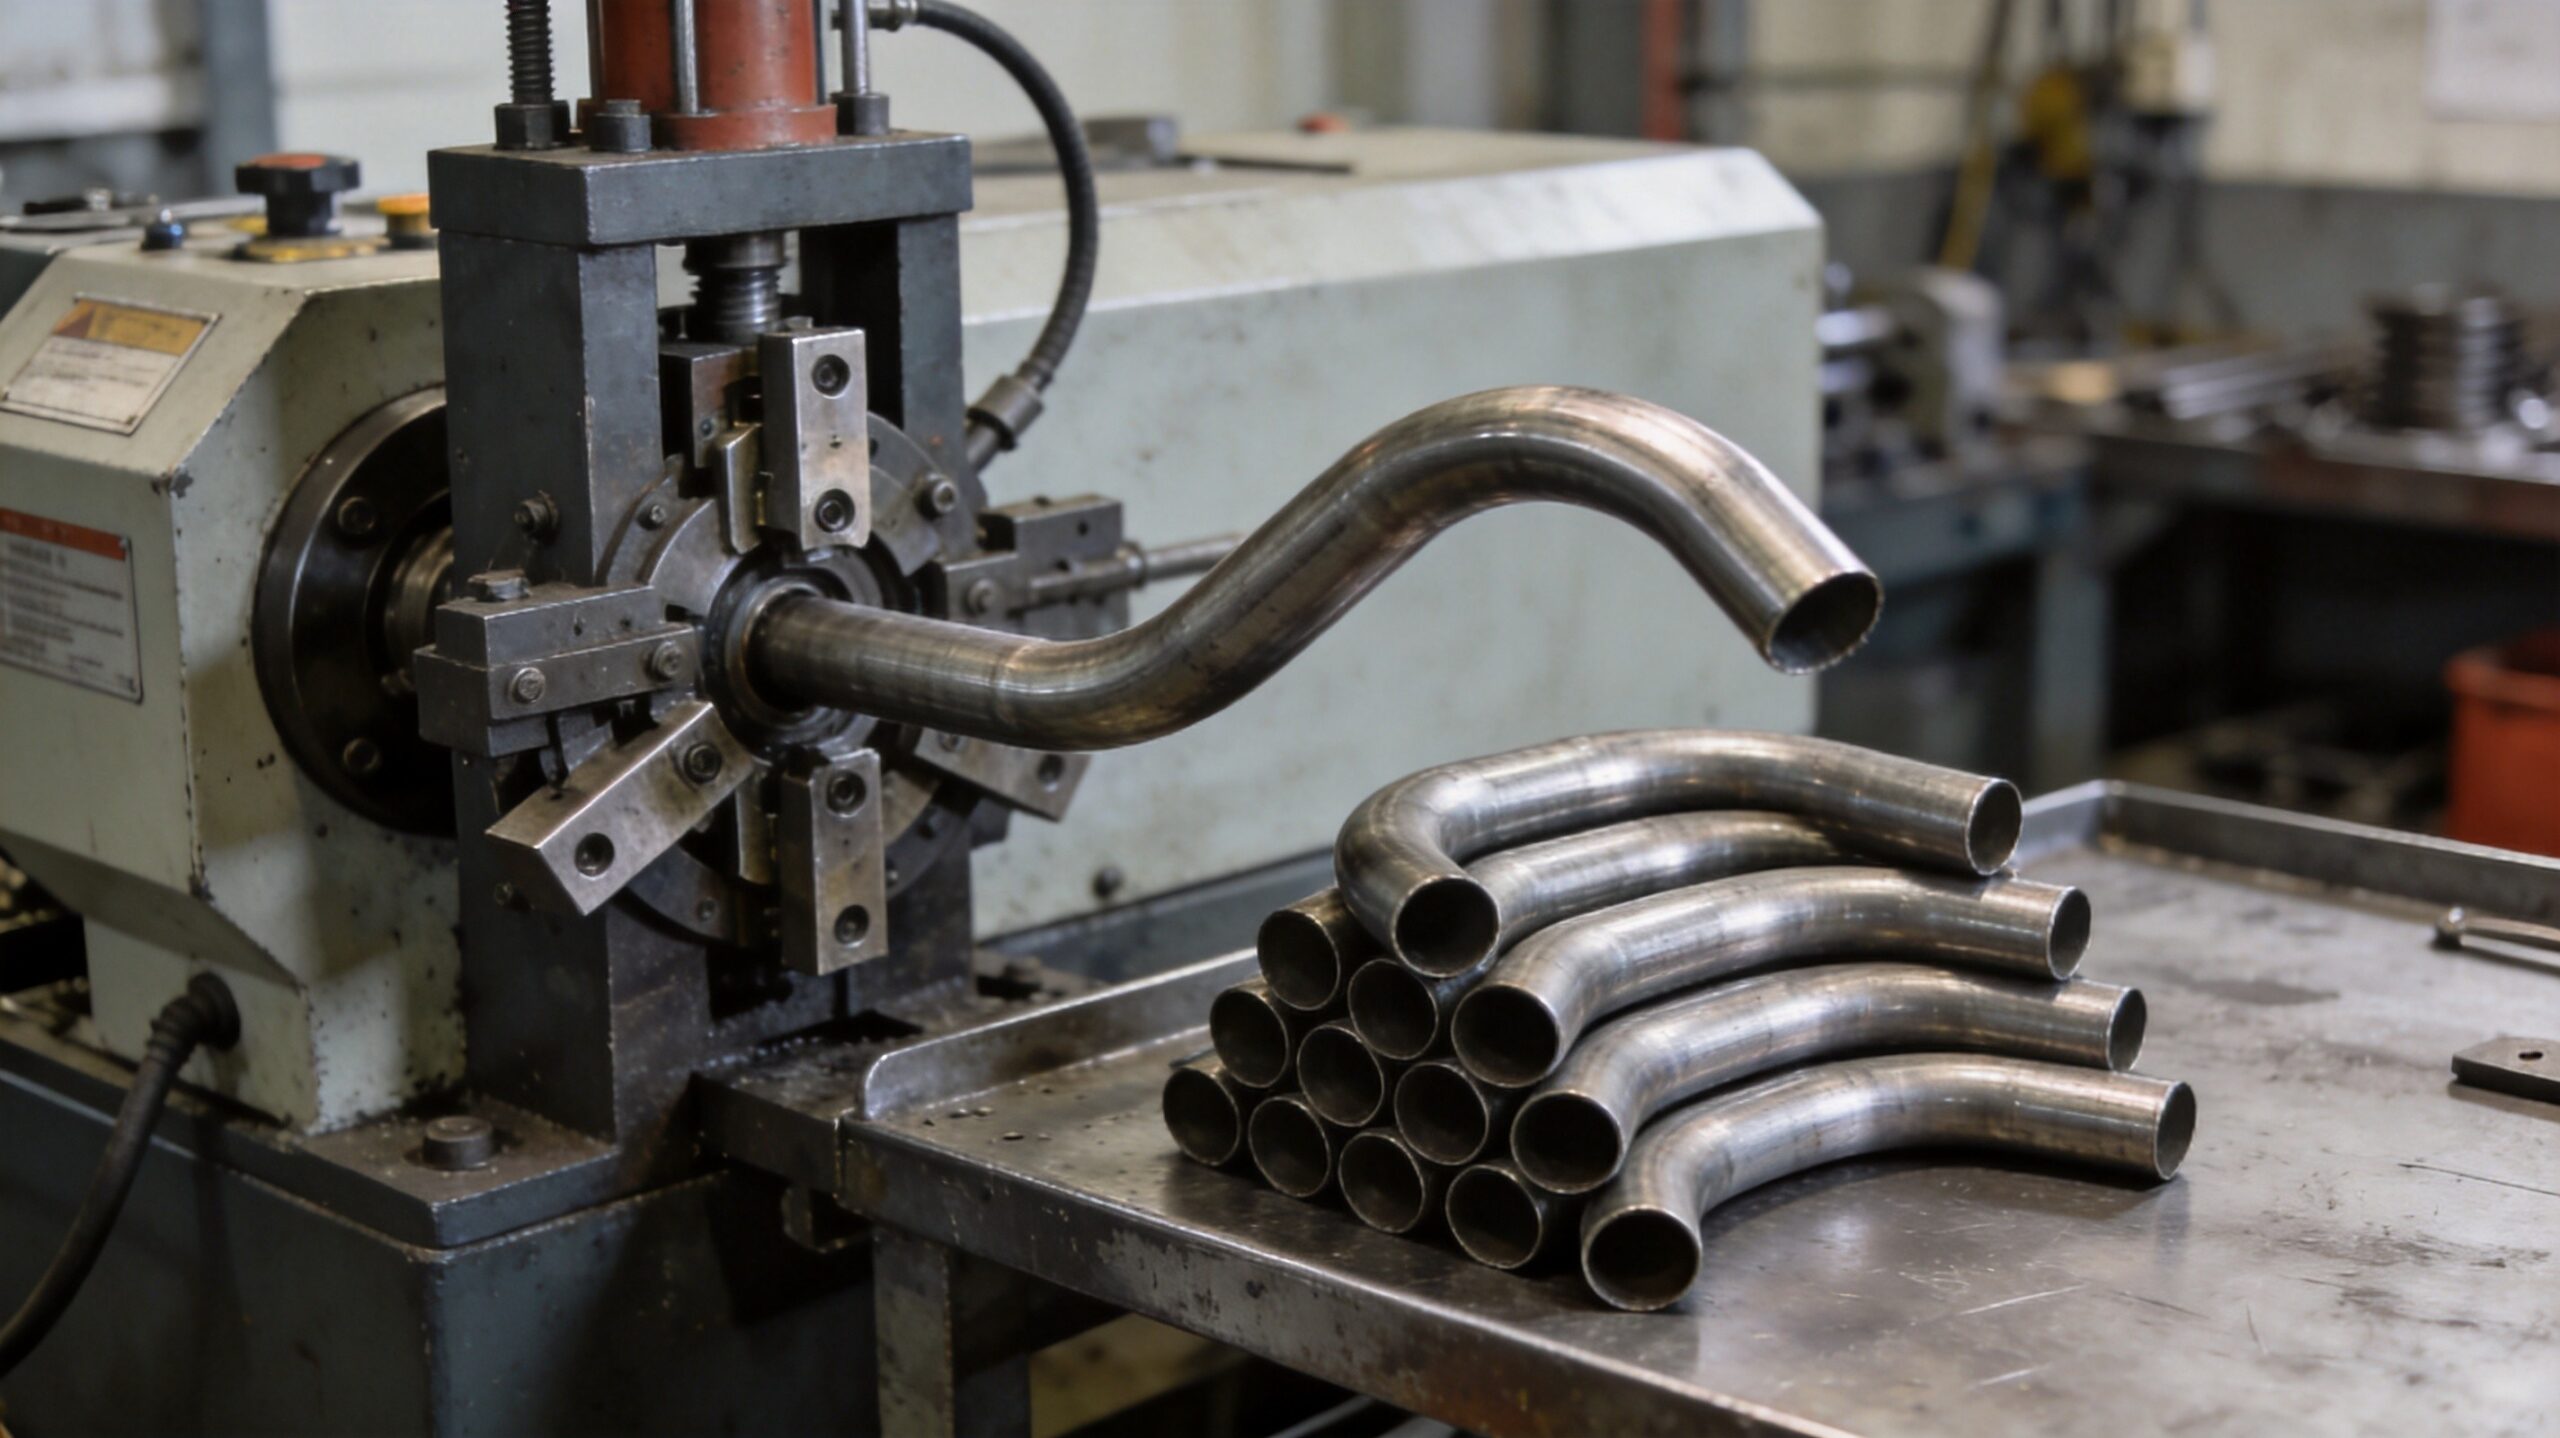
Here’s the sequence we recommend for the ROPS frame of a zero-turn mower, using 38 × 2.0 mm ERW low-carbon tube:
- Cut to length on a cold saw or band saw — square cut, deburr both ends.
- Prove the first piece on a vertical bender: confirm angle, CLR and tangent points against the drawing.
- Bend the batch on the hydraulic or CNC machine, checking the first part of every bundle.
- End-form where the design calls for it — swage, flare or flatten connection points.
- Assemble and weld in a welding fixture so bend variation doesn’t stack up across the frame.
- Inspect with go/no-go gauges on critical dimensions: first-piece inspection, then sampling through the run.
Keeping Cost Under Control
- Share radii across models. Every new CLR is another bend die and another mandrel. Designing two products around the same radius quietly saves a lot.
- Batch by size and material. Group jobs so a machine keeps one die set all day.
- Use the drops. Short off-cuts from frame rail often cover handles, guards and link tubes.
- Buy capacity in stages. A vertical bender that pays for itself in six months tells you when it’s time for the next machine — guesswork doesn’t.
FAQ
What kind of tube is used for a lawn mower frame?
Most mower frames use OD 32–42 mm (1 1/4″–1 5/8″) ERW low-carbon steel tube, wall 1.5–2.5 mm. Premium machines may use HSLA tube to save weight.
Can I bend hydraulic lines by hand?
Small copper lines (OD 6–10 mm) can be hand-bent with a spring or lever tool. Steel hydraulic lines above 10 mm should go on a bench bender — hand work flattens them, and the flow loss shows up as a weak wheel motor.
What bending angle can these machines reach?
Rotary-draw benders commonly reach 90°–120° in one stroke, and many manage 180° with enough die clearance. Anything beyond the machine’s sweep is done in two staged bends.
Is a CNC bender worth the investment for lawn equipment?
When you pass roughly 500 machines a month, or run several OEM models with different tube patterns, CNC changeover drops from around 30 minutes to under 5, and angle errors on the weld line largely disappear. That’s the point where it pays.
About the Author — Leo Yang
Leo Yang has spent 15 years building and exporting pipe and tube bending equipment, focused on practical, no-nonsense machines for small manufacturers, assembly shops and repair businesses worldwide. He helps fabricators select the right bender, set up tooling correctly, and solve the bending problems that slow production down.
Working on tube or pipe bending for lawn, garden or agricultural equipment? Talk to us about your parts — material, OD, wall thickness and the bend pattern — and we’ll help you match the machine to the job.